How to transfer music from Mac to iPhone in 3 simple steps
Music lovers, who have large music libraries often find themselves confused. How do you transfer music from Mac to iPhone should you have 50 GB of music?
Some of the easiest tasks usually might take up too much of your time. Even simple tasks, like discovering new music, finding lyrics and most and foremost listening to the quality music. You can find out full information about the former ones reading our article on best music apps for iPhone. However, we at Coppertino care for your time and convenience. That's why for the latter one, we prepared a step-by-step guide on how to transfer music from Mac to iPhone in a safe and straightforward way.
There are three key points you have to bear in mind:
- Time.
- Simplicity.
- Quality and Efficiency.
Most of these factors depend on what kind of software you use and whether you want to deal with Apple's default player (iTunes) or maybe you might want to seek alternatives to fit all your specific preferences. No matter what you give your priorities to – here's everything you need to know to transfer your music from Mac to iPhone and get ready for listening and enjoying music.
Since you are interested in a way to transfer music stored on your Mac to your iPhone, you probably don't use streaming services as such, for you already have the songs you like and would like to just have them on your device. If you aren't keen on making choices and are OK to go with the flow or just happen to like iTunes – well, then you should use iTunes. It's a great service if you tend to buy music - after you pay for it, your purchased music will instantly appear on all your Apple devices because they synchronize.
How to do it:
- Launch iTunes (or download it here).
- Go to iTunes Store.
- Search, pick and buy music (sometimes there's also free music so keep an eye for special offers).
- Wait till it appears on your iPhone in Music App (but you should make sure you have chosen the option of instant downloading for your purchases, otherwise, you can only stream it from iCloud).
How to transfer music previously purchased to iPhone and how to transfer music stored on your Mac to iPhone.
- Connect your iPhone to Mac.
- Launch iTunes.
- Scan your iPhone for media files.
- If the scan doesn't find all necessary music you can add some manually (Drag & Drop the files, or open the folder in iTunes and choose Add to Library).
- Transfer your music to iPhone.
Provided that you already have your music collection you should consider using iTunes Match. This app scans your local music library on your Mac and adds some particular tracks (by artist and name) to your iCloud storage. Later you can open your Library in Music App on iPhone, pick a track and tick the option of storing the song on your device by tapping near the selected track, otherwise, you will only be able to stream without being able to play the song offline. Not all music is available on iTunes though. You have to bear in mind that some tracks, for instance on SoundCloud, are even available for download.
All in all, iTunes is an excellent tool if your like to limit yourself to music purchased on iTunes and don't crave for much more. This process is also time-consuming because you have to perform too many actions and deal with too elaborate settings just to make sure that the music is on your iPhone.
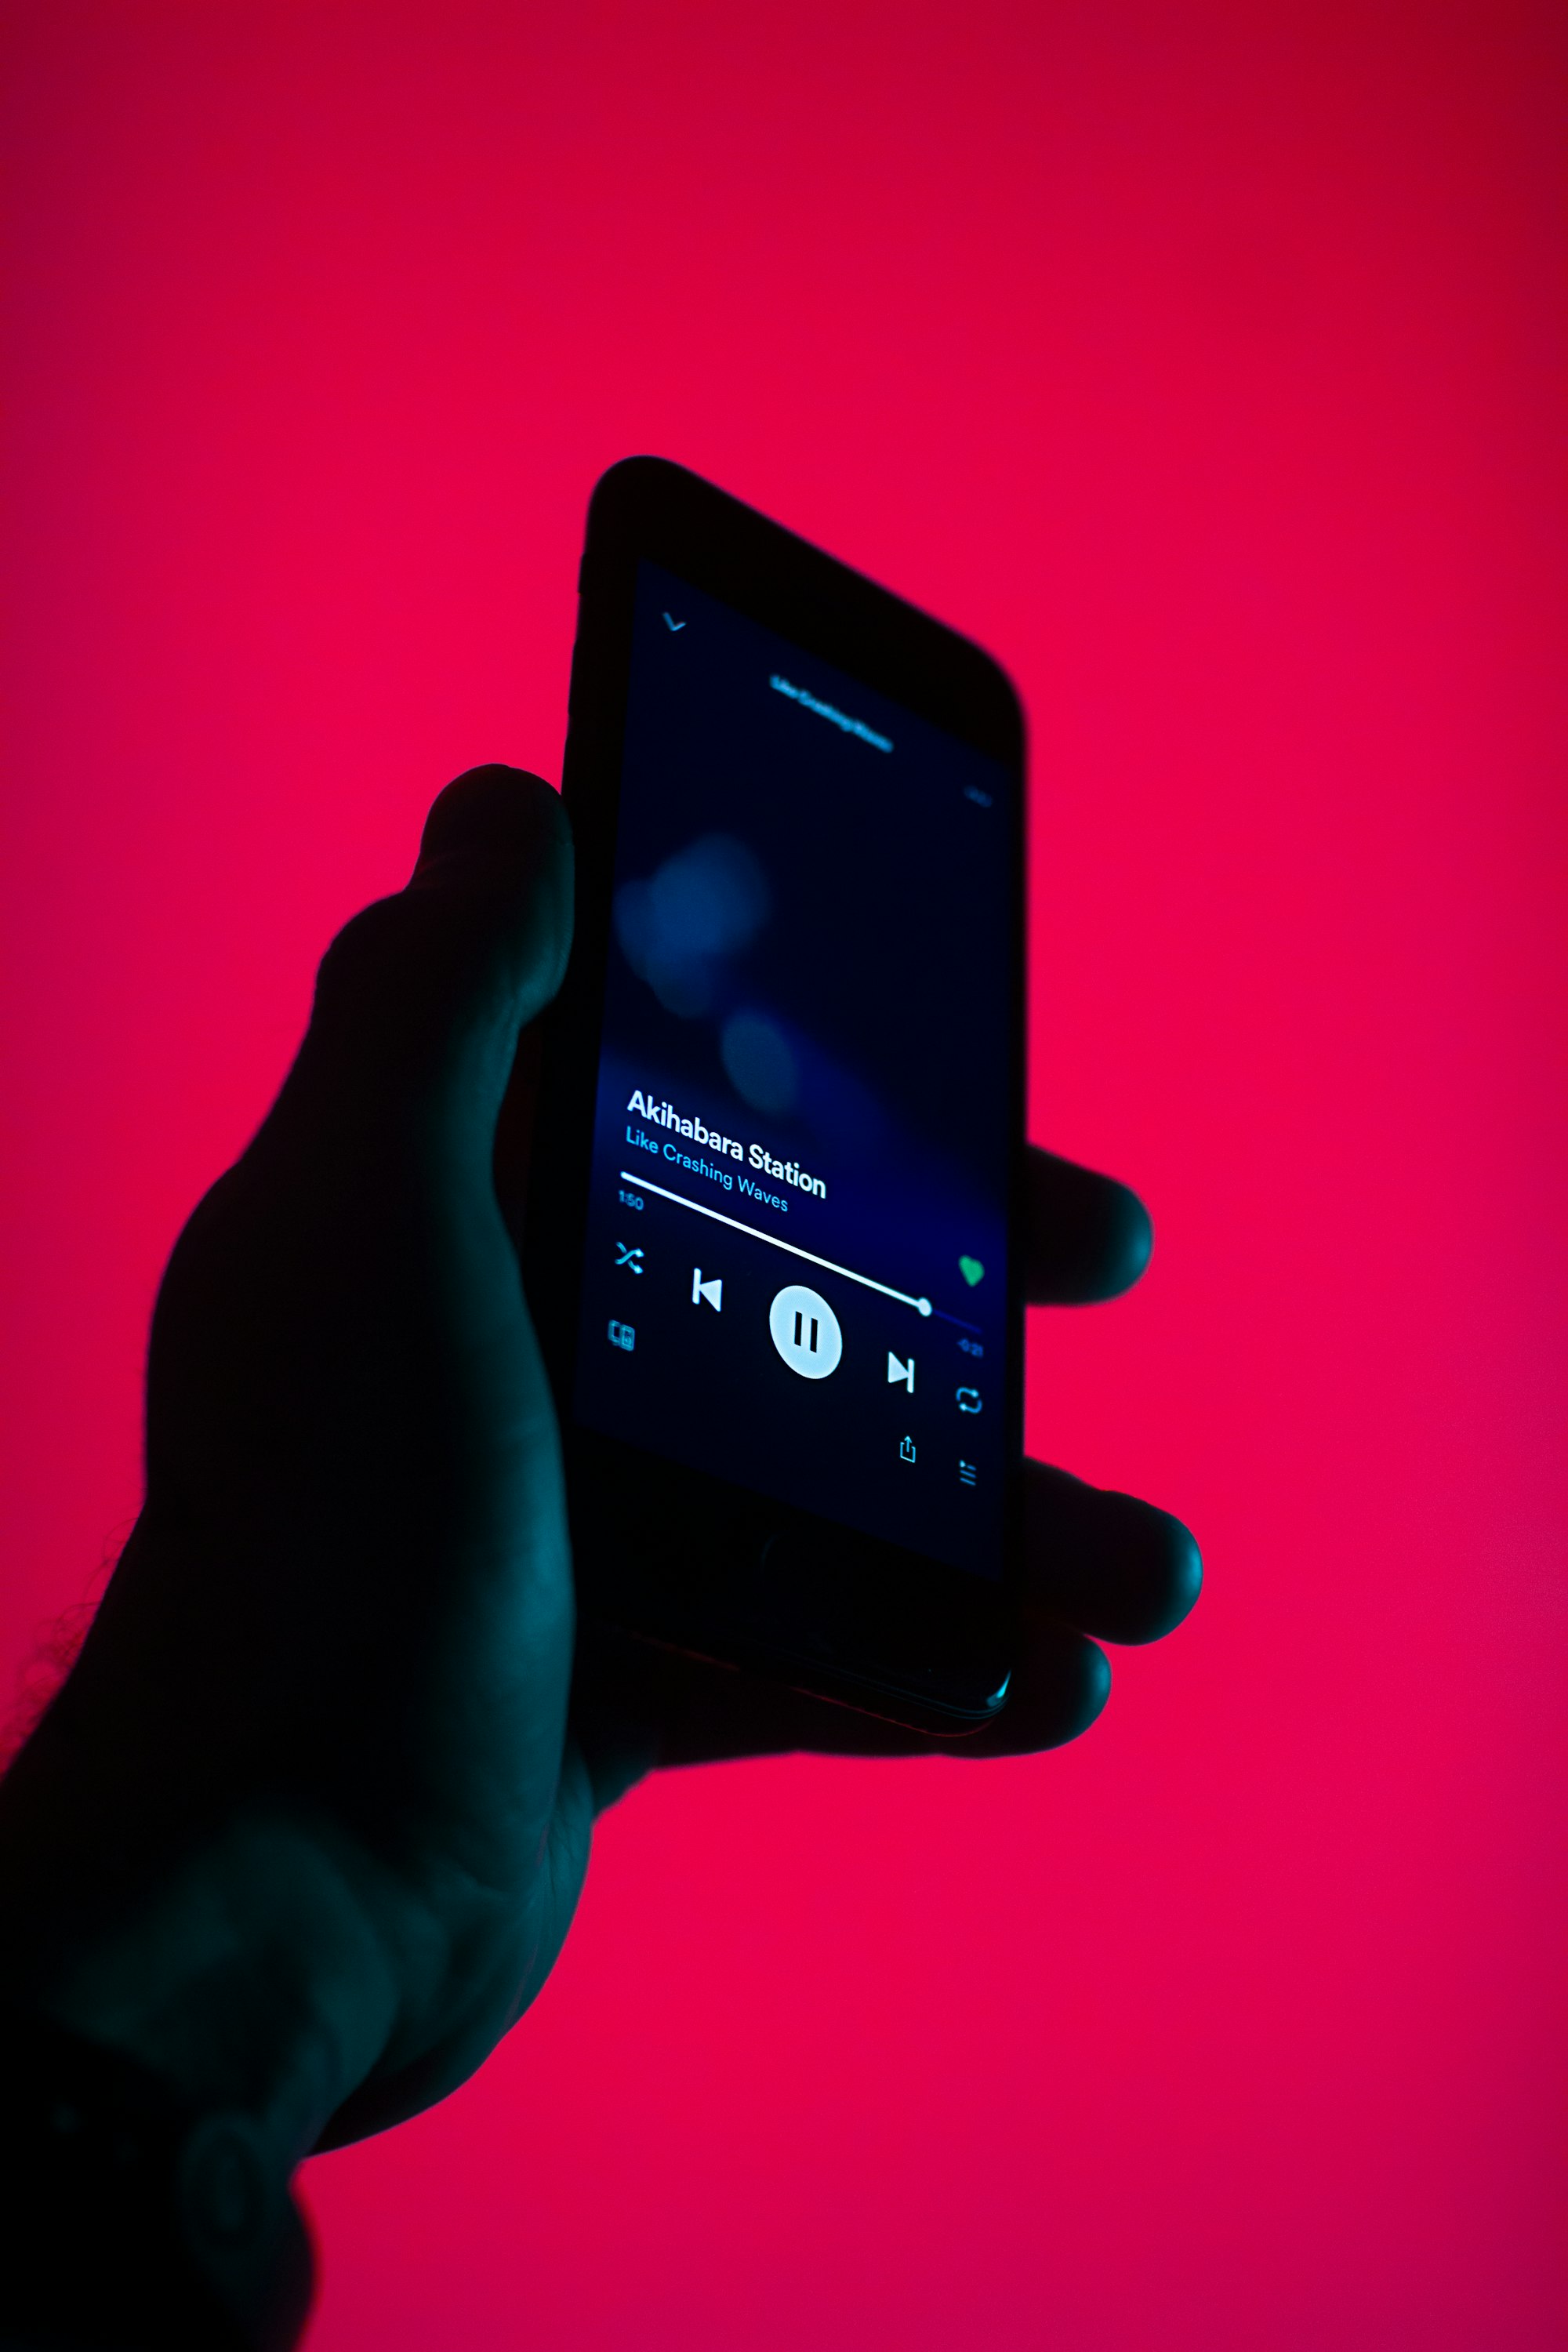
How to save time and storage and transfer your music with VOX Music Player for Mac & iPhone.
What is VOX?
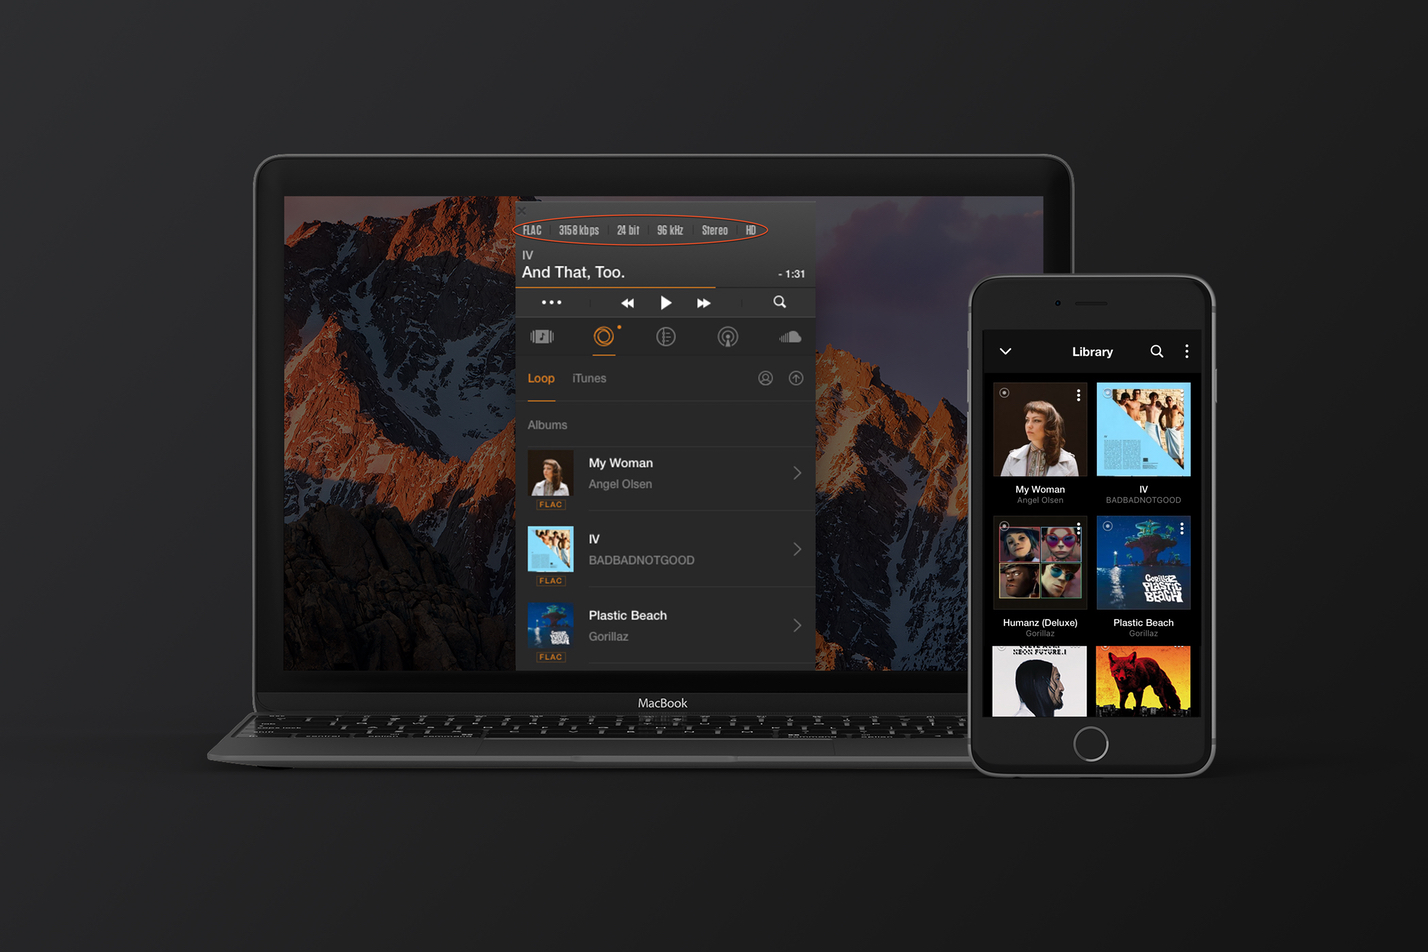
VOX Music Player for Mac & iPhone is a simple audio player with a sync feature for Mac and iPhone that plays music in Hi-Res. What really makes it a decent iTunes alternative is a cloud-based music storage called VOX Music Cloud Storage. It's available to VOX users exclusively and serves as an unlimited music cloud storage for all your collections regardless of their size or format. It syncs Mac and iPhone and doesn't compress or convert your audio files thus preserves the quality of the playback. It means that if you upload a 24 bit / 96 kHz / 3000 kbps FLAC files, that's exactly what you are going to hear. Just look at this beautiful bit rate.
Try VOX Music Player for Mac and iPhone today
It is important to listen to exactly what you expect. For example, SoundCloud compresses absolutely everything to MP3 128 kbps. They do it to save space, but VOX is an unlimited cloud storage so you can have millions, billions or whatevers of tracks. You can upload and backup your music library absolutely effortlessly preserving the original quality. VOX Cloud makes a great substitute for external HDDs so you won't even have to store your music on your computer anymore.
Music stored in VOX Cloud is available on your Windows PC, Mac and iPhone.
All the music you need on your iPhone can be cache and accessed offline anytime, anywhere.
Here's how you can transfer music from Mac to iPhone with VOX Music Cloud Storage
To start using VOX Cloud all you have to do is move your music to VOX Music Player on your Mac.
- Download VOX to your Mac and iPhone.
- Launch VOX.
- Chose audio files, then Drag & Drop them to VOX.
Done! Now you can enjoy an unlimited amount of music on your iPhone.
Start upload music to VOX Cloud Music Storage. Create VOX Premium account.
VOX also features:
- Excellent quality playback supporting both lossy and lossless formats including FLAC, ALAC, WAV, CUE and others.
- SoundCloud streaming as well as LastFM integration and scrobbling.
- CarPlay and AirPlay.
- 30,000+ radio stations from around the world.
- The most advanced equalizer with built-in presets for various genres and styles as well as manual controlling for best music experience.All things considered, you must have no doubt that VOX Music Player for Mac & iPhone is all you need to both transfer music from Mac to iPhone and just listen to high-quality music.
Enjoy the chills with VOX!